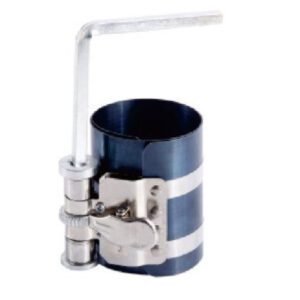
 Efficient Tool for Mechanics: The 6 Inch Piston Ring Compressor
  Comprehensive 94 pcs Tool Set for Every DIY Enthusiast
  xtool prodigy high end scanner tool
  Engine Carbon deposit cleaning intake valve cleaning
 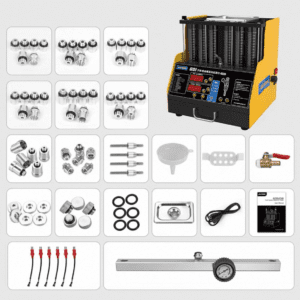 GDI Injector Cleaner 6 Cylinder
 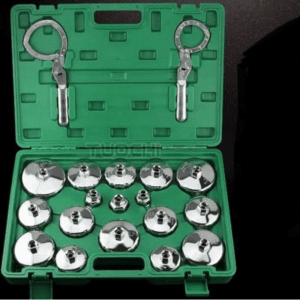 Comprehensive Review of the 19-Piece Oil Filter Wrench Set
 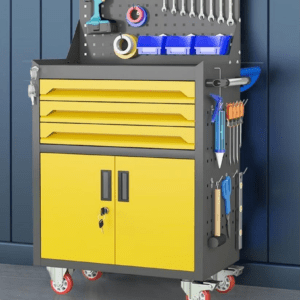 Tool Box 3-Drawer 5 Level with Board
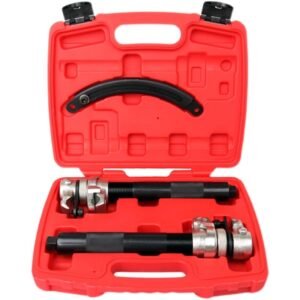
 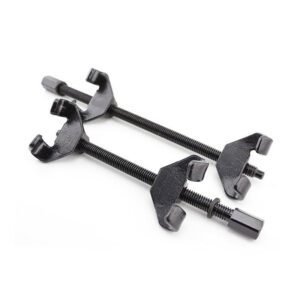 Understanding the Spring Compressor: Essential Tool for Mechanics
  Hex allen key flower bit set 40 pcs
Description
If you need to remove the fuel tank cover on your vehicle, follow these step-by-step instructions to ensure a smooth and safe process.
Step 1: Safety First
Before starting any work on your vehicle, it is important to prioritize safety. Make sure the engine is turned off and the vehicle is parked on a flat surface. Additionally, wear protective gloves and eyewear to prevent any accidents.
Step 2: Locate the Fuel Tank Cover
The fuel tank cover is typically located on the side or rear of the vehicle, near the fuel tank. It is a small panel that covers the fuel tank opening.
Step 3: Remove the Screws
Using a screwdriver or the appropriate tool, carefully remove the screws that secure the fuel tank cover in place. Be sure to keep track of the screws to avoid losing them.
Step 4: Lift the Fuel Tank Cover
Gently lift the fuel tank cover upwards to detach it from the vehicle. Take care not to force or damage the cover during this process.
Step 5: Inspect and Clean
Once the fuel tank cover is removed, take the opportunity to inspect the area for any signs of damage or debris. This is also a good time to clean the cover and the surrounding area if necessary.
Step 6: Reinstall the Fuel Tank Cover
To reinstall the fuel tank cover, simply reverse the removal process. Align the cover with the opening and carefully press it back into place. Secure it with the screws that were removed earlier.
By following these steps, you can easily remove and reinstall the fuel tank cover on your vehicle. Remember to exercise caution and prioritize safety throughout the process.


Reviews
There are no reviews yet.